
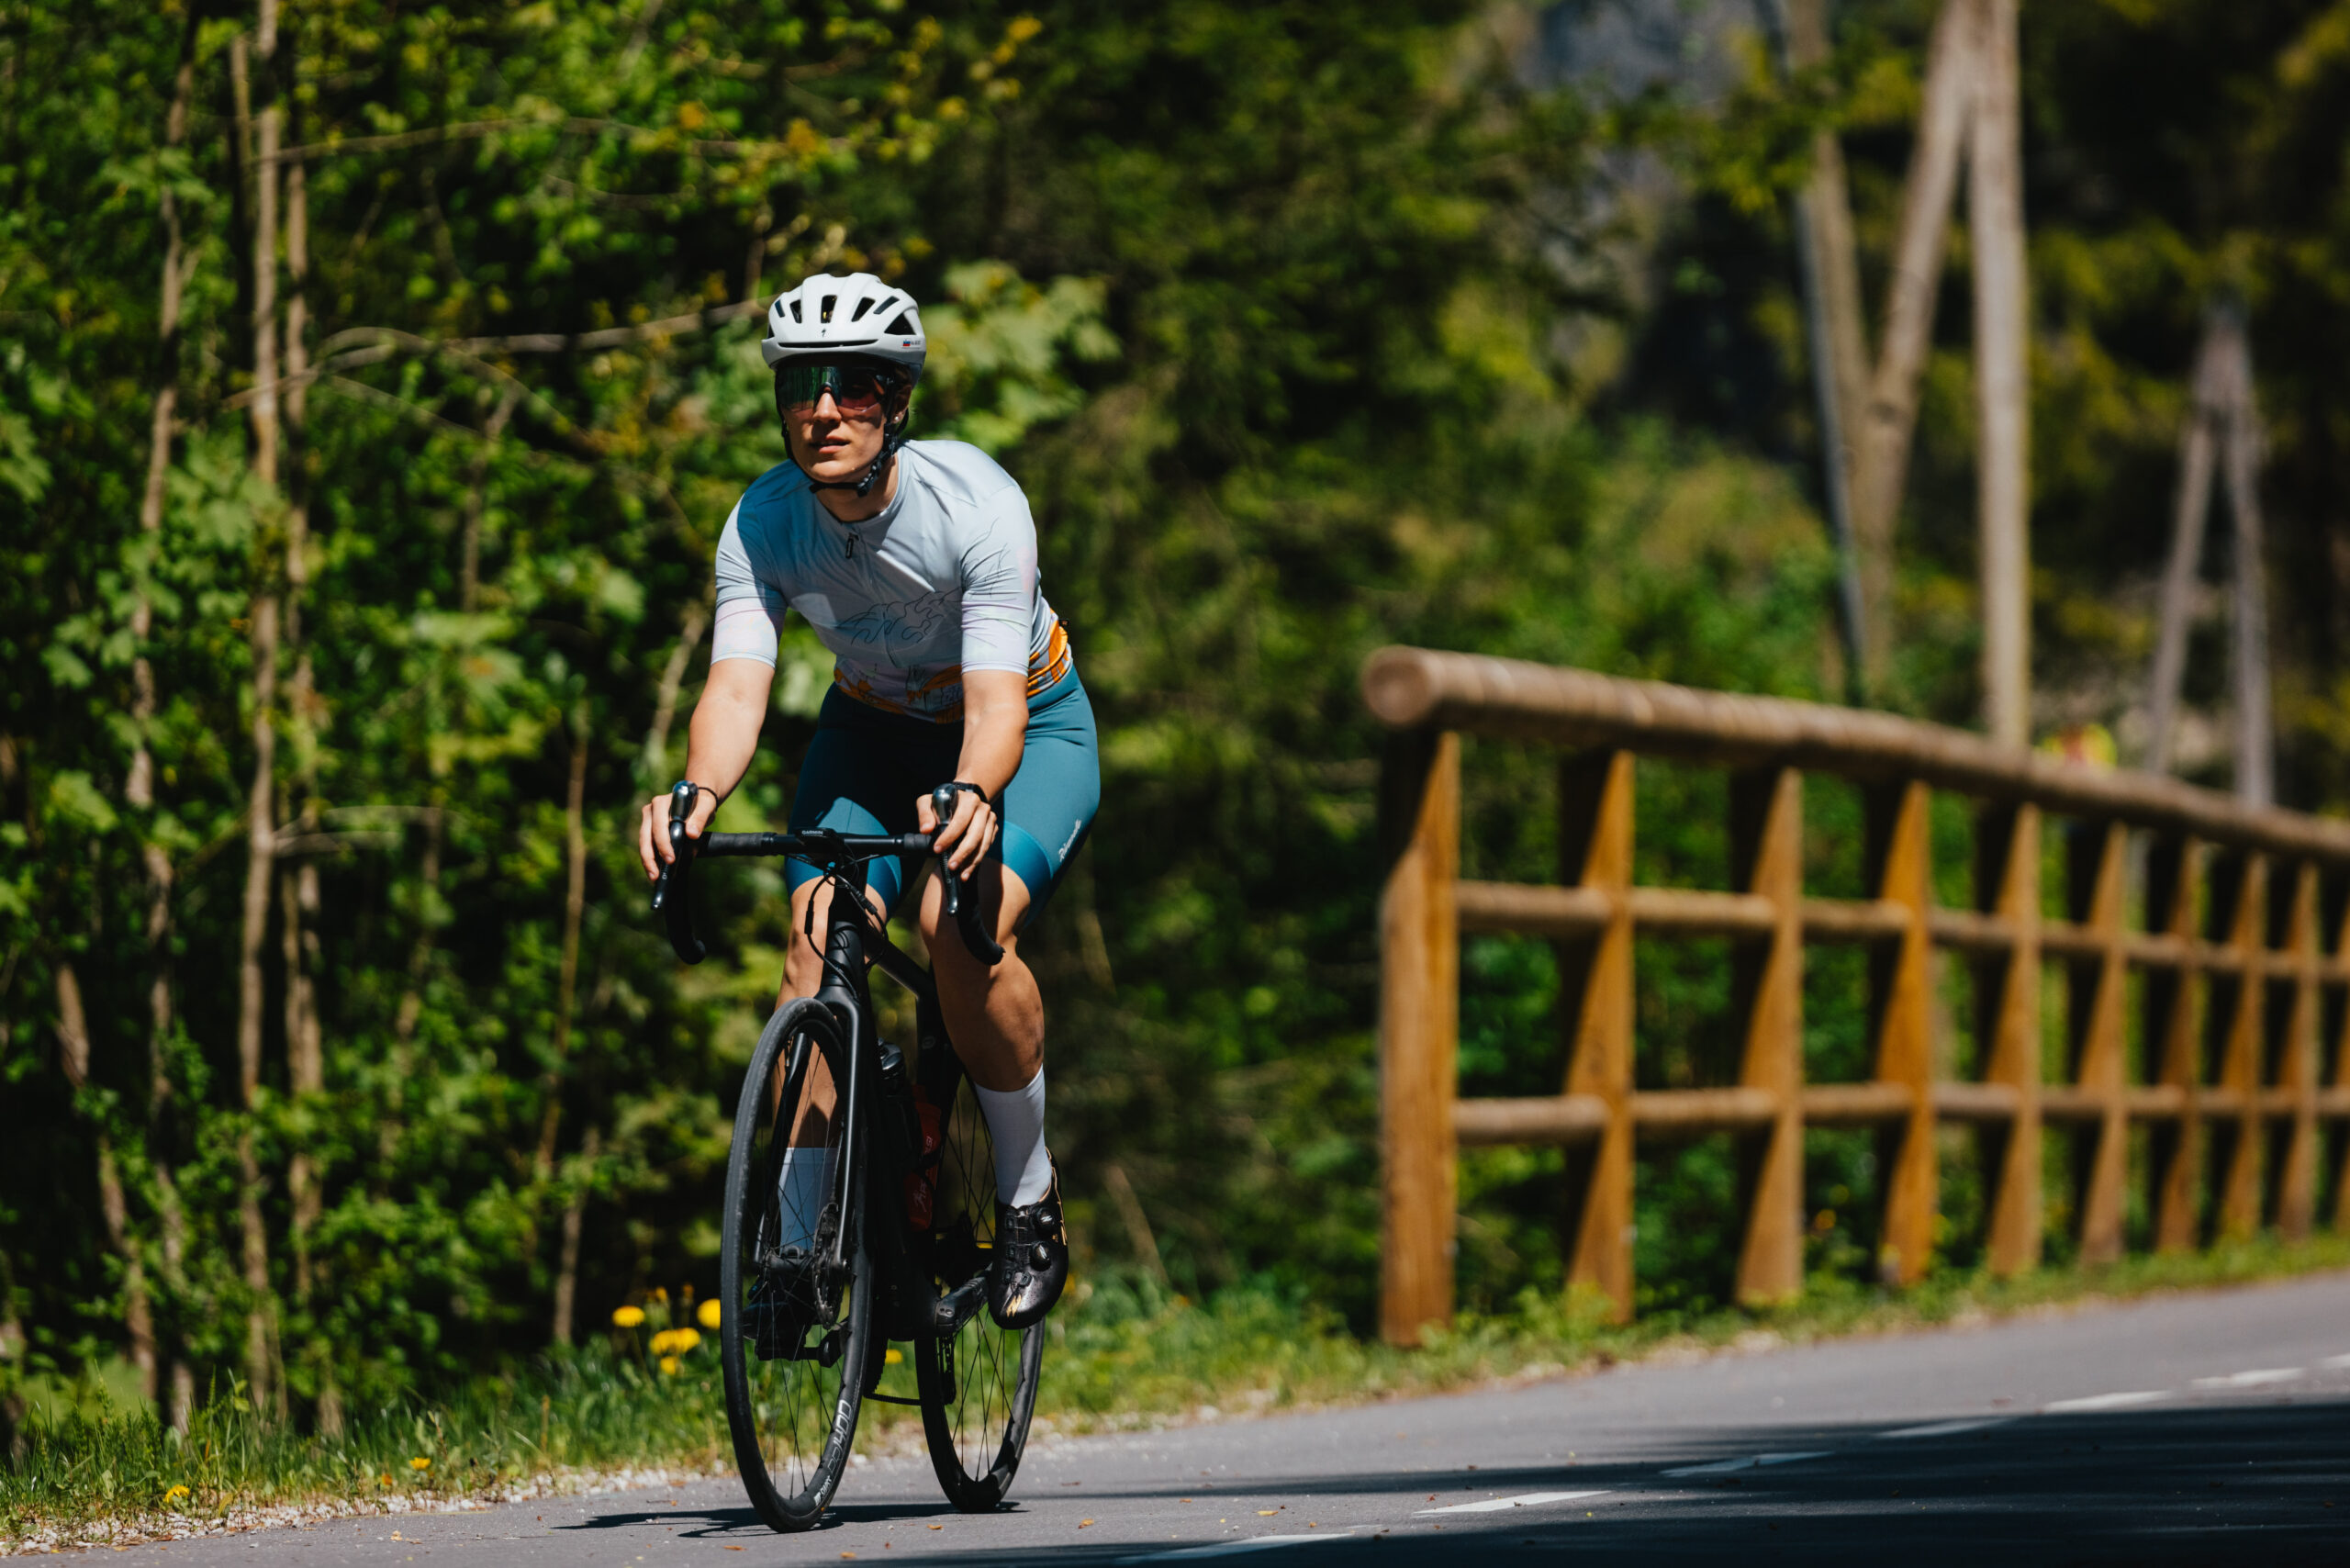
This is the post I get asked about most often — even before I’ve answered the question of whether I’m actually ready for this — so here it is: a complete gear setup, honest breakdown of everything I’m taking to North Cape and everything I’m not, and why each decision landed where it did.
Fair warning: this is a long post, because a complete gear setup breakdown is a long list. I’ve organized it so you can jump to whatever you’re most curious about. If you’re a beginner bikepacker, the principles behind each category are at least as useful as the specific items.
Gear setup: The Bike
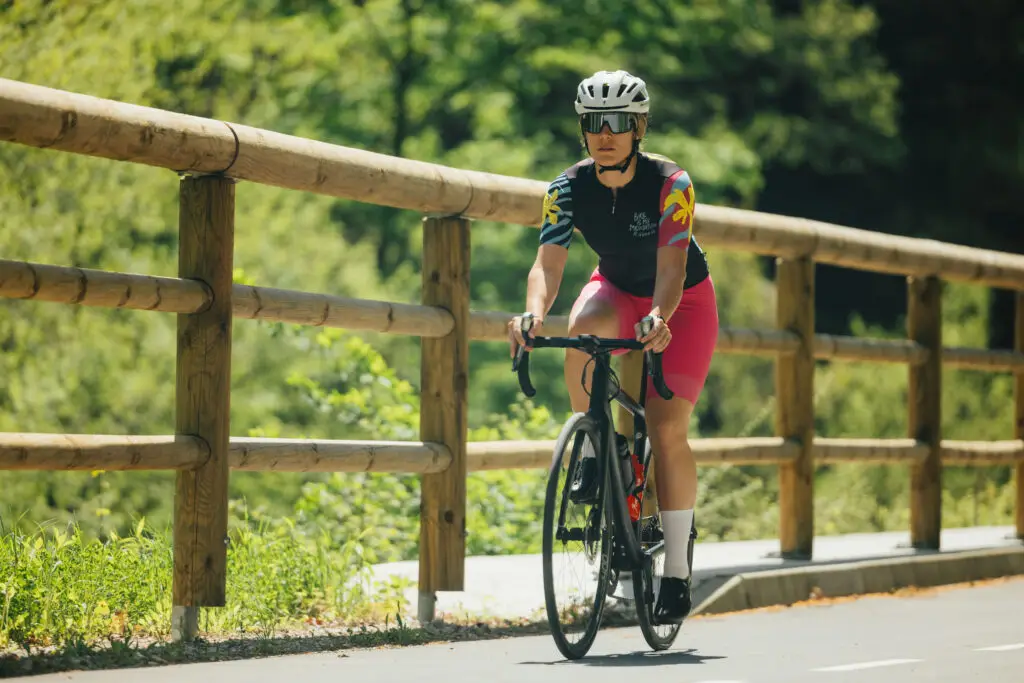
I’m riding a road bike set up for the demands of a long unsupported route — not a dedicated bikepacking rig, not a lightweight race machine, but I bike I love, feel comfortable with, a bike built for reliability and comfort over distance rather than maximum speed or minimum weight.
Key setup choices:
Tire width: 35’s wider than pure road would use, for a balance of rolling efficiency and the comfort that genuinely matters across 4,000km. I’ve tested this on long rides and the difference in end-of-day fatigue is real and measurable. And still aero enough for those thinking about speed.
Gearing: this is how I got it, and it suits me. A wide range cassette, with low enough gearing to climb a steep pass at the end of a hard day without having to spin out or honk it in a gear too high. Ego has no place in a gear choice that covers 4,000km.
Saddle: Specialized. Again, what I got when I bought my first bike, and I just put it on this one. I’ts fitted to my sit-bone width, dialed in through years of riding, and a choice I made based on actual use. This is non-negotiable. A saddle that’s wrong for your anatomy will end your ride, whatever its specifications say. I have to stress that if you are a woman rider, this is the most important thing you need to think about. The whole in the saddle is mandatory in my opinion! Some advise the use of Infinity bike seat.
Handlebars: a setup that allows multiple hand positions — reducing fatigue across very long days by varying where your weight sits and how your wrists and shoulders are loaded. I just added aero handlebars from Aeroplug to my Canyon setup, and it gives me great comfort during long rides.
Lighting: if riding in nighttime, have a front and back lighting setup that will not only light the path in front of you, but also signal other vehicles you are on the road. I use a borrowed small light that I will charge via USB.
Gear setup: The Bag System
Handlebar bag — Funny to write – I got this on Sinsay. The bulkiest items, but the lightest by density. Secured tightly to prevent movement on descents and rough surfaces — a loose handlebar bag is both annoying and an actual handling hazard.
Frame bag — MidLoader DryBag Frame Bag. The organizational core of the whole system. I’m carrying here: tools and repair kit, some food, battery banks, phone and GPS cables, first aid essentials, and a small dry bag for documents. Heavy items, centrally positioned.
Saddle bag — Topeak BackLoader Saddle Bag – 15L Waterproof. It carries clothing layers I won’t need during riding: warmer items for rest stops, a second set of kit for the colder northern sections. Compressed into a drybag liner inside the saddle bag.
Top tube bag — Cyclite Top tube bag Large. The most-accessed bag on the bike: snacks I want without stopping, sunscreen, lip balm, a buff/neck tube, and my phone when I’m not running it on the handlebars.
Food pouches — again, funny to write, I got this on TEMU. No brand, just cute. 2 of them, for water and snacks.
Weight distribution principle: I loaded everything, weighed each bag, and distributed deliberately so the bike handles predictably. Test your loaded weight distribution on a real descent before you commit it. A rear-heavy setup becomes a handling problem at speed.
Clothing: The Layering System
This is the category that took longest to finalize, because NorthCape4000 spans a genuine climate range — German summer heat at the start, potential near-freezing conditions in northern Norway, and everything in between including rain, wind, and altitude cold across multiple mountain passes.
What I’m wearing while riding, base layer:
Different cycling bib shorts, for as long as the temperature allows — well-fitted, tested chamois, the item I spent the most consideration on because saddle comfort across 3,000km is not a secondary concern. For longer rides I advise you to take at least 2 on the road. First because of the hyigene, second because the seams are different and if you get sore, you dont want the same spot to hurt.
- A short and long-sleeve base layer underneath my jersey for cooler conditions.
- Jersey with rear pockets — my daily riding jersey, chosen for the combination of sun protection, pockets, and it’s design (color pop means a lot to me).
Cold weather layers (in order of when they come out):
- Arm warmers — the first layer on, the first layer off, versatile and tiny.
- Water and windproof jacket — POC. With my digital medical information and a signal that rescue team can see in case of emergency. It provides core warmth without limiting arm movement, but also is not too warm when sweating.
- Lightweight merino baselayer — for sustained cold rather than just a chilly descent.
- Leg warmers — ASOS for the sections where shorts are no longer appropriate.
- Waterproof overshoes — GripGrab because wet feet in cold temperatures at altitude are not just uncomfortable, they’re a real problem.
- Winter gloves — Scott, a gift I got so it will keep me warm phisically and emotionaly.
- Buff/neck tube — used in more scenarios than any single item on this list: neck warmth, head covering under a helmet, face covering in wind and cold.
Off-bike layers for rest stops and cold campsites:
- A dry set of base layers for sleeping — not the kit I’ve been riding in all day. Arriving at a rest point in dry clothes is a material wellbeing improvement across multiple consecutive hard days.
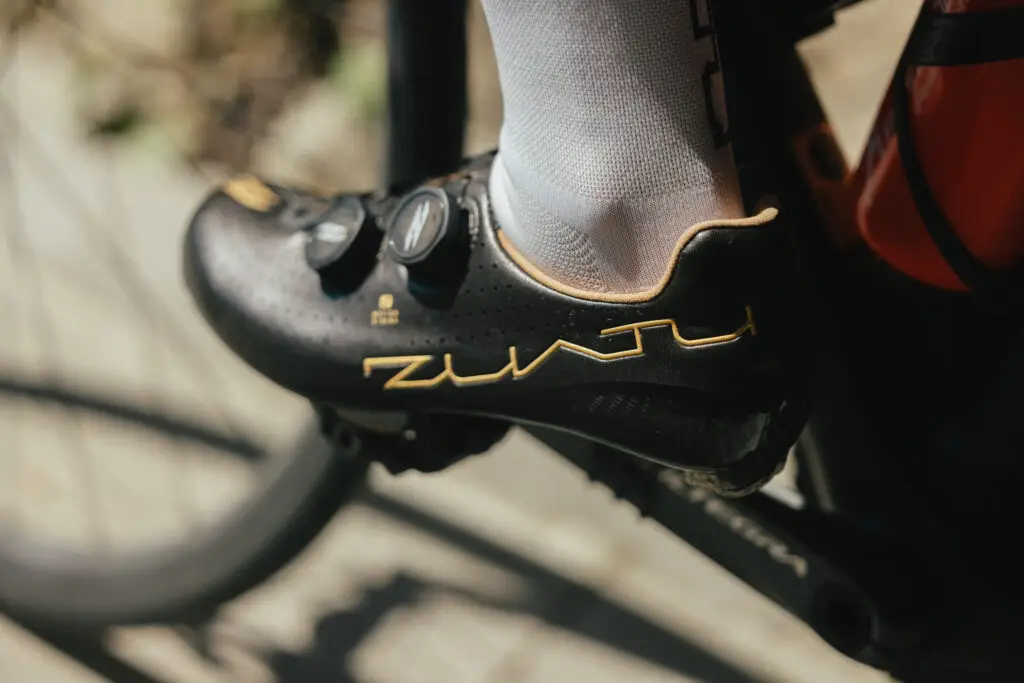
Footwear: Road cycling shoes for most of the ride. A lightweight pair of Teva’s for campsite and rest stop use — more important for wellbeing than they sound, because spending your rest periods in stiff, dirty cycling shoes compounds the fatigue they’re supposed to recover from.
The Repair and Emergency Kit
On an unsupported event, there’s no support van. Mechanical problems are my problems. Here’s what I’m carrying in my gear setup:
Flat tires (the most likely issue by significant margin):
- At least 3 spare tubes at all times, matched to my tire size
- Tire levers (3)
- mini pump — electric, to pump faster and without extra effort.
Other mechanical:
- Multitool with all the hex sizes my bike actually uses (I checked, specifically, before buying the tool)
- Spare derailleur hanger (bike-specific, irreplaceable on the road without one)
- Spare brake pads
- Chain quick-links and a chain tool
- Chain lube (small, travel-sized)
- Spare cleats for my shoes
- A short length of duct tape wrapped around a pencil
If it can’t be fixed on the road, the plan is: find the nearest town with a bike shop, get there by whatever means, fix it.
Navigation
A dedicated Garmind Edge GPS cycling computer with offline maps covering the entire route loaded in advance.
My phone as backup navigation, kept in airplane mode to extend battery life when not actively needed.
The NorthCape4000 tracker is mandatory for the event but its actually an APP on my phone — it logs my position throughout and makes it visible on the public tracker, which is both a safety measure and the thing that lets you all watch the dot move in real time.
Power and Electronics
A USB battery bank (high capacity) for charging the GPS, phone, and anything else needing power. This bank gets topped up at guesthouses, cafes, campsite facilities — “charging while eating” becomes a daily habit.
Cables for everything, plus a small universal adapter for USB-C.
Nutrition and Food
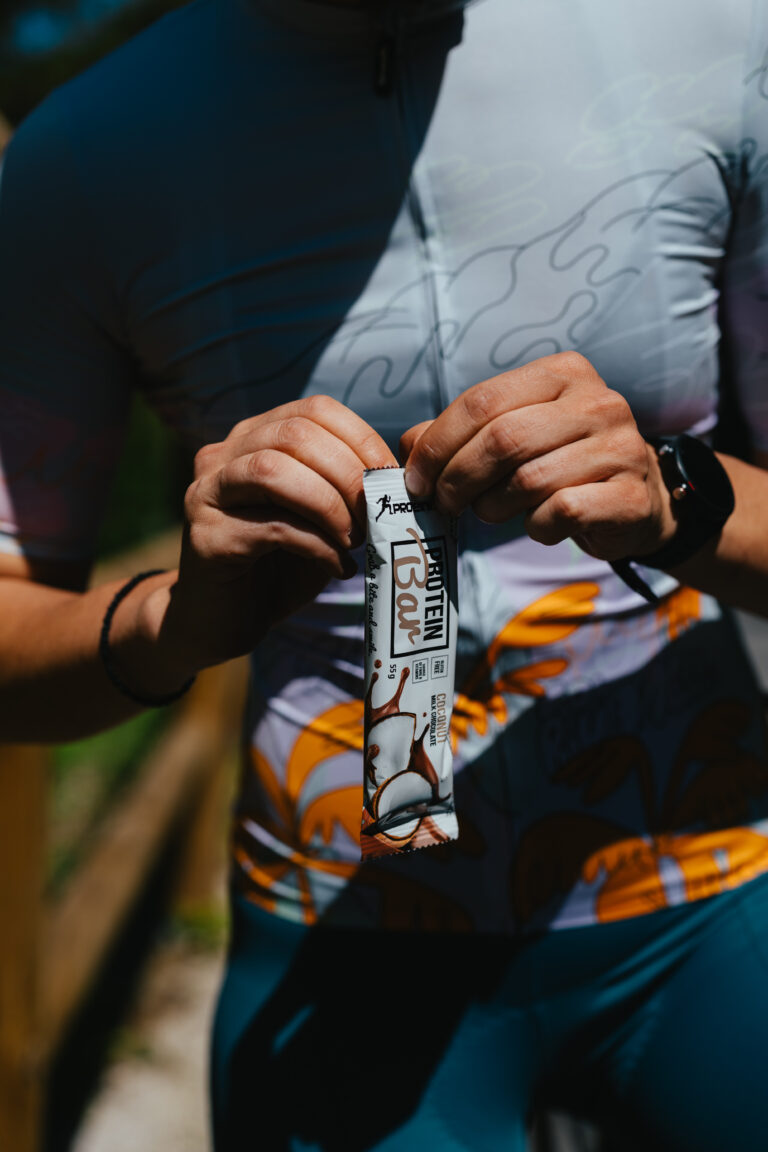
I’m not carrying a full kitchen setup — just a few snacks that have a lot of calories. Food for riding comes from shops, cafes, and petrol stations along the route.
What I carry at any given time:
Enough for a day’s riding plus an emergency buffer — roughly 24 hours’ worth of calories.
A mix of real food and sports-specific nutrition. Real food: bars, dried fruit, nuts, bread, cheese where it travels. Sports nutrition: gels and chews for harder efforts and moments where my stomach won’t tolerate anything denser.
Electrolyte, magnesium and salt tabs for long days — plain water alone isn’t sufficient for sustained high-output riding in heat or cold.
First Aid and Personal
Small first aid kit: plasters, blister treatment, anti-inflammatory gel, sun protection (very high SPF), chamois cream (non-negotiable, large enough quantity), lip balm, insect protection for the far north (midges in Norway are a specific and deeply personal problem I have been warned about extensively).
Personal documents: passport, insurance details, emergency contacts — in a waterproof pouch in the frame bag.
The Small Things That Matter More Than They Sound
CASH for the route countries — card readers exist everywhere until the exact moment you need one.
Earplugs — Loop. For shared accommodation on rest nights. This sounds trivial. After three nights of poor sleep, it isn’t.
A phone mount on the handlebars that can also charge while mounted — navigation and charging simultaneously.
A small notebook and pen — my Strava stats won’t capture how day 12 actually feels. The notebook will.
White socks. Always. Obviously. Non-negotiable and, at this point, structural to the entire psychological setup of every ride I do.
Tips & Takeaways for Beginner Bikepackers
Build your bag system around weight distribution, not volume. Heavy things in the middle of the bike (frame bag), light things at the extremes (handlebar, saddle). Test on real terrain before committing.
Your saddle decision is your most important decision. Get measured, test, and prioritize this above everything else.
Test every layer combination in the actual conditions you’ll encounter. Not in your kitchen. Outside, cold, wet, tired.
Carry slightly more water capacity than you think you need if your route includes any sections with sparse resupply. Running low on water in a remote section is a real problem, not a minor inconvenience.
The repair kit should cover your most likely scenarios completely, not every possible scenario partially. Flat tires: fully equipped. Minor mechanicals: well-equipped. Catastrophic frame failure: that’s what the nearest town is for.
The small things (earplugs, cash, notebook, lip balm) do disproportionate work for their weight and cost. Don’t cut them first when the bag feels heavy.
Cut unused items after every test trip, not after the event. If it didn’t come out of the bag across two days of real riding, it’s not coming to the North Cape either.
* Next in this series after gear setup: My Schedule from Berlin — the start date, how I’m getting there, and the day-by-day structure of the first week on the road.
Leave a Reply